Strategies for Improving Your Squat Form and Technique
12 February 2026
Let’s be real—squats aren’t just a “leg day” movement. They’re the foundation of strength training, and they show up just about everywhere. Whether you’re trying to build muscle, improve mobility, or just look and feel strong, mastering the squat is non-negotiable.
But squats can be tricky. One tiny mistake in form can lead to poor results or even injury. So if you’ve been feeling a bit “off” while squatting or just want to get better, you're in the right place.
This guide will break down the most effective strategies for improving your squat form and technique—without any fluff, just real, actionable advice. Let’s dive in!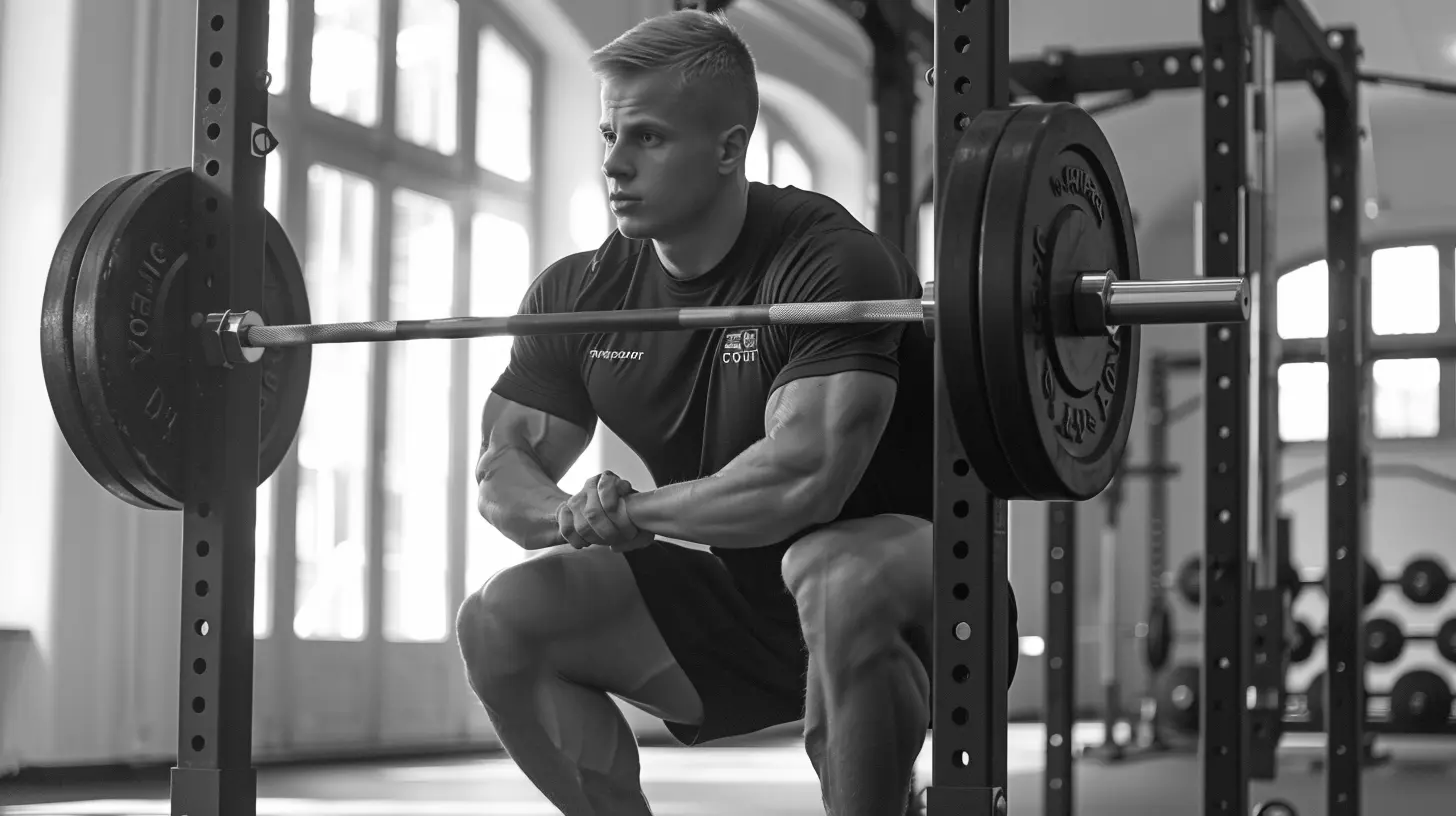
🧠 Why Squat Form Matters (More Than You Think)
It might be tempting to just load up the bar and chase PRs, but hold up—bad form is like building a house on a crooked foundation. Sure, it might stand for a while, but eventually, something’s gonna give.Good squat form doesn’t just prevent injuries. It also:
- Improves muscle activation (hello glutes!),
- Builds proper movement patterns,
- Maximizes strength and power,
- Keeps your joints healthy in the long run.
So yeah, dial in that technique and your body will thank you—daily.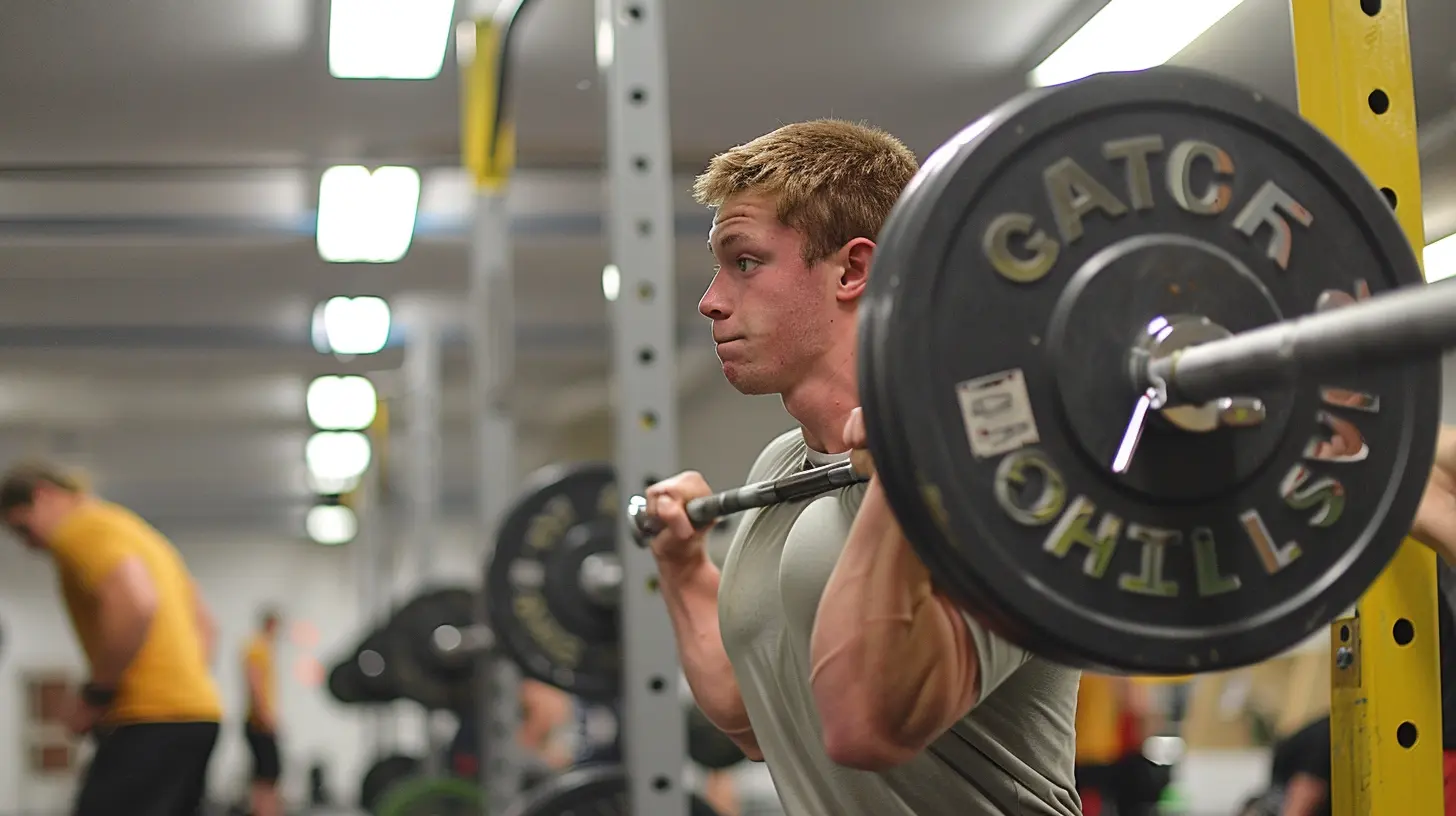
🦵 Understanding Different Types of Squats
Before we jump into form tweaks, let’s quickly run through the main types of squats. Not all squats are created equal, and your technique may vary depending on the version you're working with.1. Back Squat (High-Bar or Low-Bar)
The classic. Barbell sits across your traps or rear delts. Great for building overall strength and muscle.2. Front Squat
Barbell rests on the front of your shoulders. Forces you to stay upright—killer for core and quads.3. Goblet Squat
Perfect for beginners. Holding a dumbbell or kettlebell helps keep the torso upright.4. Overhead Squat
Advanced. Bar held overhead. Demands huge mobility and core strength.Each type has its quirks, but the fundamental principles of squat form stay pretty consistent.
🧍♂️ Step-by-Step: The Anatomy of a Perfect Squat
Let’s break it down, from feet to head. Here's how to get your squat looking sharp every single time.1. Foot Position
Start with shoulder-width or slightly wider. Toes pointed slightly out (15–30 degrees). Everyone’s hip anatomy is different, so play around a bit.👉 Pro tip: If your heels come off the ground, your stance might be too narrow or you're lacking ankle mobility.
2. Brace Your Core
Imagine someone is about to punch you in the gut—you’d tighten your core, right? That’s bracing. Hold that tension before you descend.3. Break at the Hips First
Push your hips back slightly as you begin to squat. This keeps your knees from driving too far forward and protects your joints.4. Knees Out
Don’t let your knees cave in. Drive them out (in line with your toes) to activate your glutes and maximize power.5. Depth Check
Aim to break parallel—where your hip crease dips below your knee. Deeper’s better (if your mobility allows), but engagement and control matter more than depth alone.6. Chest Up, Eyes Forward
Keep that chest proud and spine neutral. A rounded back is a one-way ticket to injury. Pick a spot in front of you and focus on it to stay aligned.7. Drive Through Your Heels
On the way up, push through your heels like you’re trying to crush the floor. That keeps the movement balanced and helps fire up your posterior chain.Boom. That’s your textbook squat.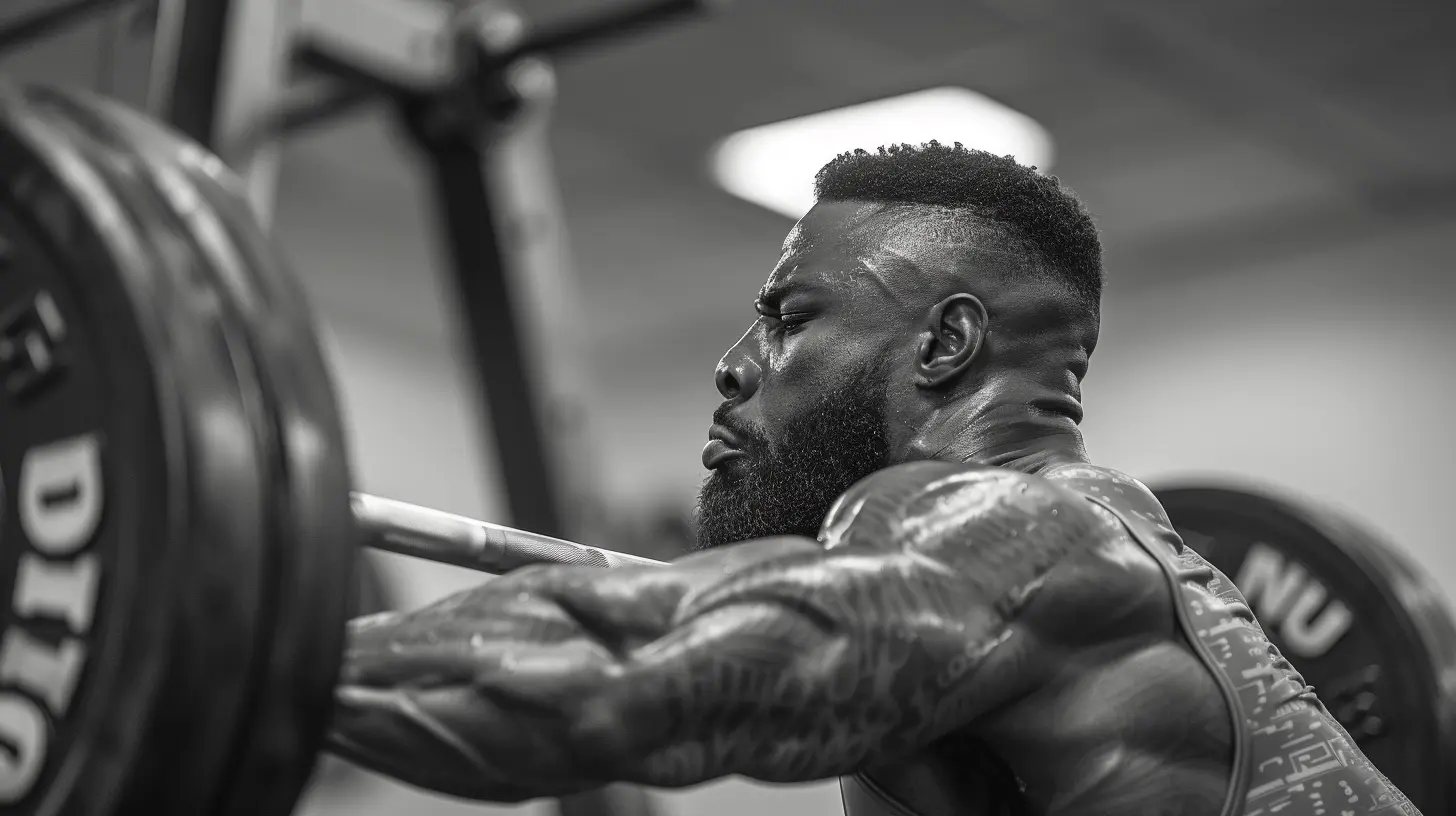
🪛 Common Squat Mistakes (And How to Fix Them)
Even seasoned lifters can fall into these traps. Let’s name ‘em and fix ‘em.❌ Mistake #1: Knees Caving In
When your knees buckle inward, it’s usually a sign your glutes and abductors need a little love. Use resistance bands during warm-ups or even squats to train correct knee tracking.✅ Fix: Focus on driving your knees out during every rep.
❌ Mistake #2: Heels Lifting Off
That’s usually due to poor ankle mobility or balance issues. You want your whole foot rooted, especially the heel.✅ Fix: Add ankle mobility drills and pause squats to your routine.
❌ Mistake #3: Rounding the Back
A rounded upper or lower back means your core isn’t tight enough, or your bar placement is off.✅ Fix: Work on core strength and use cues like “chest up” or “proud torso.”
❌ Mistake #4: Not Hitting Depth
Sometimes it’s poor mobility, sometimes it’s just rushing through reps.✅ Fix: Slow down. Pause at the bottom if you must. And add mobility work to your warm-ups.
🔄 Mobility: The Secret Sauce of Perfect Squats
You can’t talk technique without talking mobility.🔑 Key Mobility Areas to Focus On:
1. Ankles – Limited dorsiflexion = heels lift = bad squat.2. Hips – Tight hips mean poor depth and control.
3. Thoracic Spine – Particularly for front and overhead squats.
🧘♂️ Effective Mobility Drills:
- Deep squat holds (sit in a squat for 30–60 seconds)- Ankle rocks
- Hip openers like the 90/90 stretch
- Foam rolling your quads, glutes, calves
Make mobility work part of your daily or pre-lift routine. It’s that important.
💪 Accessory Exercises to Boost Your Squat
Improving form isn’t just about squatting more. Sometimes, you’ve gotta step back and strengthen the supporting muscles.Try adding these to your weekly routine:
1. Bulgarian Split Squats
Build leg strength and stability. Plus, they reveal any strength imbalances.2. Glute Bridges / Hip Thrusts
Stronger glutes = more powerful squats.3. Box Squats
These teach you to sit back and build control, especially at the bottom.4. Paused Squats
Teach you to stay tight and own your positioning at every phase.5. Core Work
Think planks, ab rollouts, farmer’s carries. A strong core = stable squat.🎯 Programming Tips for Long-Term Progress
You can’t improve what you don’t track, and you can’t progress without a plan. Here are some quick tips:- Film Yourself – Reviewing your squat on camera helps pick up small errors.
- Use a Training Log – Track sets, reps, weight, and how you felt.
- Submaximal Work – Don’t always train to failure. Quality over quantity.
- Deload When Needed – Let your body recover and come back stronger.
And most importantly… stay patient. Progress with squats can be slow, but it’s oh-so rewarding.
🧠 Mental Cues to Keep You Locked In
Sometimes improving technique is about what’s happening upstairs. These cues are like cheat codes for better form.- “Screw your feet into the ground” (for stability)
- “Chest up, elbows down” (for bar positioning)
- “Break at the hips” (for initiating movement)
- “Push the floor away” (for generating power)
Practice these until they become second nature.
🛠️ Advanced Tools That Can Help (If You're Stuck)
Been grinding for a while but still stuck in a form funk? These tools might help:🟩 Lifting Shoes
Heel elevation can help improve squat depth and balance, especially if ankle mobility is lacking.🟨 Resistance Bands
Useful for activating glutes and enforcing knee tracking.🟦 Squat Wedges
Elevate your heels for better depth and upright torso position.📹 Video Feedback
Again, seeing is believing. Record yourself from different angles.🗣️ Final Thoughts: Progress Over Perfection
Here’s the deal: nobody masters squats overnight. Even elite lifters constantly refine their technique.The key takeaway here? Focus on form first. Strength will follow.
Don’t chase heavy weights at the expense of technique. Your body is always talking to you—listen to it. If something hurts, back off and reassess.
Improving your squat is like building a pizza from scratch. You can throw all the toppings you want on it (weight, reps, PRs), but without a solid crust (form), you’ve got a mess.
So take your time, apply some of these strategies, and make your squat the strongest (and safest) lift in your gym arsenal.
all images in this post were generated using AI tools
Category:
Gym TrainingAuthor:

Preston Wilkins
Discussion
rate this article
2 comments
Victoria McVicar
Great insights! Perfecting squat form takes time and practice—stay consistent, and you'll see fantastic progress!
March 16, 2026 at 3:50 AM
Mira McBride
Focus on depth, stability, and consistent practice for improvement.
February 13, 2026 at 1:58 PM
Preston Wilkins
Absolutely. Depth and stability are key. Consistent practice will definitely lead to better form and technique.